January 31st, 2016
For Part Two, Click Here
Winter hot-tenting is something Andrew and I have wanted to do for quite some time, but it’s taken a while to save some money for all the gear we will need. We decided to go easy on Christmas presents for each other this year, and instead put that money towards a canvas tent and portable wood stove so we can get out and enjoy the “hard water” season. Our tent, the Alaskan model from Atuk Tents in Quebec has arrived, and so has our Kni-Co Packer stove, but with the tent weighing in at 24lbs and the stove at 22lbs, we can’t exactly throw them in a backpack and hit the trail. The solution? Winter freight toboggans!

chic carpentry outfit with official supervisor hard hat
As we are both completely new to this style of camping, we’ve been doing lots of research on the best equipment and techniques to stay comfortable in snowy, cold conditions. I’ve read “Snow Walker’s Companion” by Garret and Alexandra Conover cover to cover three times, and I’ve been pretty active on the forums over at Wintertrekking.com, asking questions and checking out trip reports, gear reviews, and DIY projects. There was no way I was going to sew our winter tent – I’m much too impatient for a finicky project like that – but Andrew is extremely handy, so we decided to save a couple bucks (really, not much more than that, because materials are so expensive) and build our own toboggans to haul our gear on.

one toboggan blank, ready to be sliced; one beginner woodworking student, anxious to learn
The first step was to purchase the materials for our toboggans. We went with the best option available: Ultra High Molecular Weight Polyethylene (UHMW for short), which we purchased from Johnston Plastics in a 48″x120″ sheet at a thickness of 1/4″ and a jaw-dropping price of $409 including tax. We had them cut this giant slab into three toboggan-sized pieces, each 16″x120″, and Andrew managed to wrestle these slippery over-sized cutting boards into the back of his work truck to transport them to the workshop. When I say slippery, I mean it. This stuff is as non-stick as Teflon. I walked on it in my socks and almost wiped out. Even picking it up and moving it is tricky, and not just because it’s a bendy 10 ft long slab. This means it should glide over ice and snow with no problems, which is exactly what we want when we’re pulling hundreds of pounds of gear into the bush!
Once the slip’N’slides were at the workshop, we began measuring out the dimensions of our sleds. We chose to taper the ends by 2″ at the front hauling end and 1 1/4″ at the back to allow for easier maneuvering through the woods and to prevent dragging of the edges through snow. Andrew rigged a jig on a straight edge to the plastic (held on with clamps lined with sandpaper – this stuff is just so damn slick) and sliced off the edges with a circular saw. I stood around looking the part in a pair of Carhart overalls and a white supervisor hard hat, feeling a bit useless. After the tapers were created, I took a small hand plane to the edges of the sleds to smooth them out and reduce snags and friction. Sandpaper doesn’t work on this material, it’s just too hard and dense and slippery.

andrew rigged a jig while i danced one
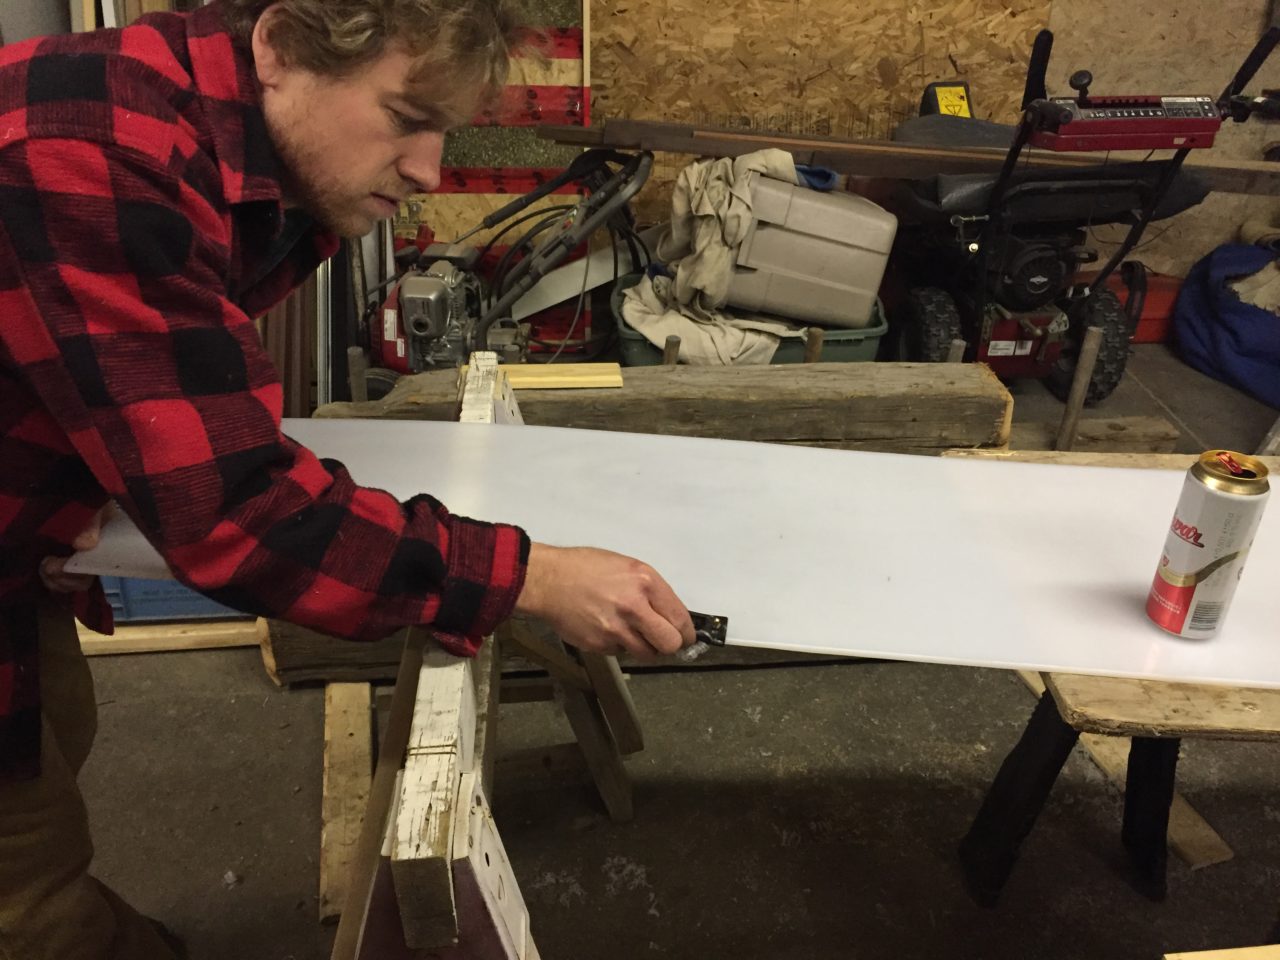
andrew checks my smoothing job while i enjoy a beer after my hard work

progress shot: one routered edge of rich mahogany
With the edges smooth, we began to create crossbar pieces for the toboggans. We wanted to use a really hard, strong wood, and as Andrew does many high-end window and door installations, we had quite a nice supply of mahogany trim lying around the shop which would suit our purpose perfectly. I wouldn’t recommend using mahogany unless you have some lying around. It’s one of the most expensive woods you can buy, and not exactly the most ethical, either, as it grows in rainforests which are being obliterated by clear-cutting. However, this was scrap, and we are repurposing it.

left: one routered and sanded crosspiece, right: routered but not yet sanded
We found some pieces that were 1 1/2″ inches wide by 3/4″ high, and Andrew used a router to make nice smooth, rounded edges on all of the bars. He then cut the pieces for specific placement on the toboggans. The front ends, with the 2″ taper, are 12″ long, so for that bar we went with a piece 11″ long (1/2″ gap on either side of the plastic base) with a 4 degree angle to fit the taper. The back ends of the toboggans with the 1 1/4″ taper were 13 1/2″ long, and the bar was cut to 11 1/2″ with a 2 degree angle on the edges. The other crosspieces that needed extremely strong wood, the pulling bar and the bar to hold the front curl lashing, were also cut to have a 1/2″ clearance on either side of the sleds. We think this will minimize catching of edges in deep snow or around tricky corners while hauling. Once the pieces were routered and cut down to size, I used a palm sander to smooth the bars, which took quite some time because mahogany is such a hard, strong wood. I then took some fine (220 grit) sandpaper to finish them further. Didn’t even chip my nail polish.
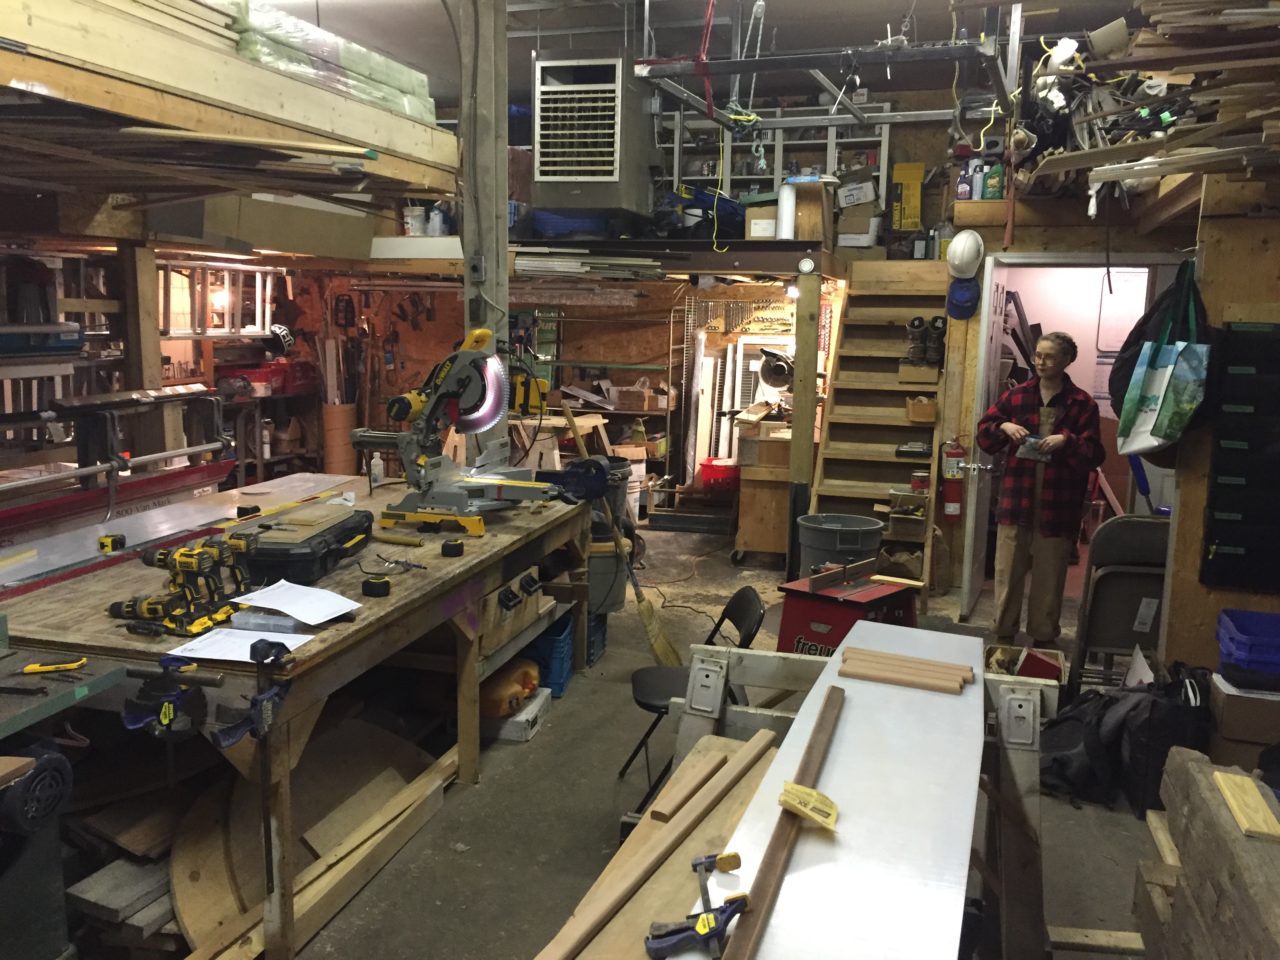
things are slowly taking shape!
After that, we decided to call it a night. The next step is to counter-sink the screw holes in the bars and sled, drill holes for the running lines, and treat the wood. We will be treating the mahogany with a 50/50 mixture of mineral spirits and tung oil initially, followed by subsequent treatments where we will enrich the mixture with more tung oil until we are applying only oil and the wood has soaked it all up. Then, assembly!
Pretty cool,,, waiting for part deux,,,
Haggis
Soon! We have to finish them by the February long weekend or we won’t get to go camping!
These are going to be gorgeous sleds!
Thanks! Probably not too many with mahogany braces ?
They are going to be beauties!
Thanks!
Amazing ! Can’t wait to see then in action ! Expensive DIY though, wow! Happy camping !
??? very expensive, but still cheaper than buying them pre-made. Hopefully if we put them together properly they’ll last a decade!
I would think they will last a lot longer than that! I have had some of my gear for over 15 years! 🙂 Have a super duper day! 🙂
I hope you’re right! As long as we aren’t dragging them over sharp rocks when we test them out in a week, they should be very durable. Silly excuse for a winter this year.
yes, all my fault! I bought snowshoes. Sorry. LOL. Hope it goes well! 🙂
Morning Tierney, You guys still heading out this weekend? Funny… the first time my Wife and I went to “test run” our hot tent was family day…in Algonquin. We Stayed at Mew…for use of the comfort station…just in case. We stayed at site 73 or some thing… Well away from everyone, but facing the water. It was beautiful, the booming of the frozen lake was wonderful. I believe it was about -35 when we went. The Family Day activities were great. A great weekend to try out your gear. From My experience…do not try to keep the stove going all night, its too small and opening and closing of your sleeping bag loses all heat and since your tired… you cannot recup. Just stay snuggled and get it going in the morning. Try to swing by a Home hardware and get a wood stove thermometer, handy…and if you got the spark arrested with your kni co..don’t use it with the birch wood the park sells…the creosote clogs it up very quick, causing you to have no air movement around 10 pm when your tired and cold with smoke going into your tent…I just scrapped it. Also if you car has a block heater..might want to use it the morning before you go with that kind of cold… my car was not happy after 3 days of -35…the dash board lit up with error lights till it warmed up. And mostly unsolicited advice is so cool 😛
Dude, this comment came at exactly the right time. Thank you. It’s going to be -27 this weekend with a windchill of -35. Andrew had a mild freak out yesterday about freezing to death… We went out and bought him a nice new parka and I think that cheered him up a bit.
We are going to set up in some crown land very very close to Huntsville. I want to be able to cut some boughs for the floor which is frowned upon and finger-waggled at in Algonquin, and I want to purchase some nice, dry, seasoned hardwood nearby so we can get set up more easily. We weren’t planning on keeping the stove going all night, but now we are a bit worried that our sleeping bag layering system isn’t going to be quite warm enough. We’ve got our 3-season mummy bags (good to -10), ridgerest and prolite thermarest pads, wool and fleece blankets, and a giant down sleeping bag to use as a top quilt. We also have lightweight down jackets to wear inside our bags. If we still feel chilly, I guess we can make like two burritos and roll ourselves up in emergency blankets inside our bags. Did you use a winter-specific bag? We are going broke trying to get all of our gear together (technically I think we have still spent more on canoe-camping gear over the years though). Thanks for letting me know where to buy those stove thermometers. Canadian Tire and the Deep didn’t have them because they said they only sell them for BBQs or some nonsense.
Oh, and we already snipped out the spark arrestor/potato masher on the stove cap because everyone on Wintertrekking said the exact same thing! So we have the cap with the two flat pieces that fit inside the pipe if nature wants to throw a snowball down our pipe, but nothing to clog up.
The unsolicited advice WAS cool, because it’s lovely to know that we aren’t the only crazies who choose the coldest day of the year to try winter camping for the first time. Thanks.
Awesome! glad it was helpful. When we stayed in Algonquin…last year along the Minnesing trail we walked in the bush…way off the trail to get balsam bows for the floor. I wouldn’t do it in Mew. But we did bring a bunch of those foam kids tiles/mats, which helped.
No, we did not have dedicated winter gear, My wife had a -9 down mummy bag in a cheapy rectangle bag, on a foam mat on a thermarest and she was warm…and she sleeps cold. Myself being concerned for her, like I mentioned tried to keep the stove going the first night, I had a Big Agnes -9 on the insulated mat…with a Hudson bay blanket on top…should have put it inside. I was fucking freezing! the second night was better. This year, Big Agnes and I are working together to get the word out about their winter bags, and have be gracious enough to set me up for winter camping with some winter dedicated gear…so I will be trying that out in the coming weeks on My wife’s and mine’s property in Huntsville (where I can cut all the trees I want lol)
You should be good… Fleece, with tow bags or wool inside you will be warm enough.
The thermometer…try a home hardware..That’s why I was specific….lol. not sure where in TO you are but I use to frequent the Parkdale one…but on your way up, there is barrie, orillia, washago…and dean’s home hardware right on Stephenson’s rd 4 and 11. They probably have one…
Enjoy! Have fun, get some drinks in you! and don;t stress! Its camping! Let me know how it goes…Shoot me a email, damnyak at gmail dot com, perhaps we can all hook up for a weekend trip.
Thanks again for the encouragement. Our layering system should be adequate if you guys survived even colder temps with less. I bought a warm sleeping bag liner for Andrew for Christmas this year, too, and it’s supposed to increase the warmth of the bag by 10 degrees. I’m usually quite hot in my bag.. Even in -5 with just my sleeping bag I usually have to stick my arms out. AND it’s only going to be -23 instead of -27 now! Practically bikini weather.
Do you guys live in Huntsville year-round? That must be so nice. Andrew has family in Muskoka and we have friends who have a couple of properties in the area. If things get really rough we won’t be more than a km or so away from our car and close to HWY 11 so we won’t be getting stuck 30km down a logging road like we were in November.
Not full time yet…Just own the property. Twenty-two acres of forest with a backyard on water. So camping for now…
Pingback: Forty Below Zero | the happy adventure
Pingback: Building a Winter Freight Toboggan, Pt 2 | the happy adventure
Pingback: March: In Like a Lamb | the happy adventure
Pingback: Canoeing and Camping through COVID - The Happy Adventure